Description
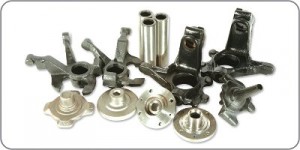
ARI offers rapid and inexpensive method of 100% inspection of parts. ARI can be used to detect structural defects such as cracks, cold shuts, inclusions, porosity, nodularity, hardness, density, and heat treatment.
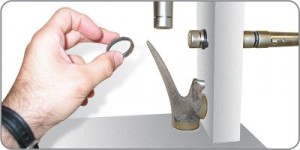
ARI principle of operation is based on analyzing resonant frequencies of parts. Every part has a unique resonant signature and any deviation from the expected signature indicates the presence of a flaw. To excite the structure and cause it to vibrate an impact hammer is used. The part vibrations can be measured by two microphones or two accelerometers. A single measurement can detect defects at any location throughout the part. Advanced signal processing methods are used to detect natural frequency peaks and their damping factors with a resolution down to 0.2 Hz.
ARI is a relative test method, which requires a database of known parts. During calibration or learning, a database of reference parts including good and different defective parts is made. Typically, the database can be set up with 100 to 500 good parts from different production batches. Various defective parts can be optionally included in the database as well.
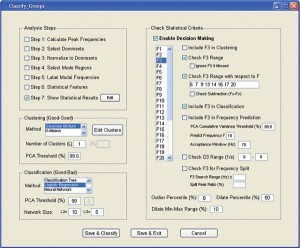
ARI generates a “decision module” based on advanced statistical methods and classification algorithms to sort the parts. “Good” parts have consistent spectral signatures, meaning that their resonant frequencies are the same among the reference part; while the resonances of “Fail” parts are different. For example, a crack in a part causes certain resonances displaced to low frequencies or split up into two frequencies; whilst others remain the same. With hardness testing, “all” resonances are changed due to a hardness deviation in a part.
The decision module checks multiple criteria; each one follows a particular “logic” to separate defective parts. These criteria analyze the acceptance range of resonant frequencies, the mutual relation between two frequencies, the relationship between multiple frequencies, and the classification result between Pass/Fail groups. A clustering algorithm is applied to compensate for acceptable process variations. A large variety of data viewing tools are available to compare the test results of a new part with the statistical features of the reference parts in the database.
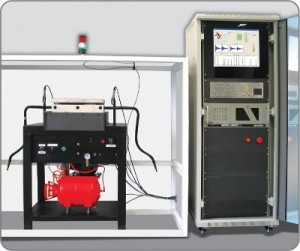
We provide customized fixtures for part mounting using (silicon) rubber supports, automatic part loading/unloading with pneumatic control, and optionally an isolated enclosure for environmental noise cancelling.


